Discover the beauty of creating a wooden jewelry box with free PDF plans. Perfect for storing precious accessories‚ these designs cater to all skill levels and tastes‚ offering detailed guides and customization options.
Overview of Wooden Jewelry Boxes
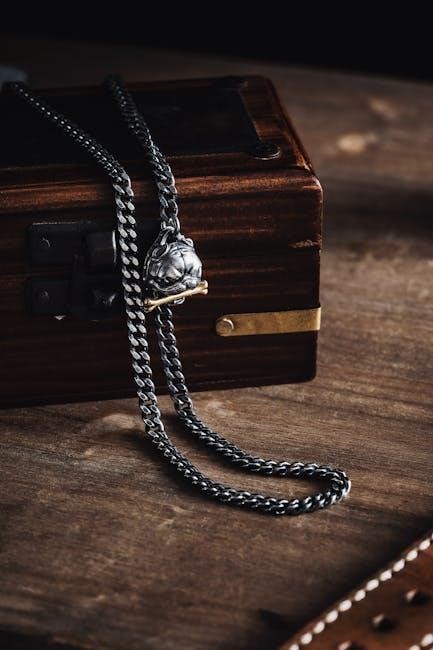
Wooden jewelry boxes are versatile and elegant storage solutions for precious accessories. They come in various designs‚ from simple to intricate‚ offering a natural‚ timeless appeal. Crafted from high-quality woods‚ these boxes are durable and can be personalized to suit individual tastes. Perfect for organization and gifting‚ they provide a practical yet beautiful way to keep valuables safe and dust-free. Their charm lies in their craftsmanship and ability to blend with any decor‚ making them a cherished addition to any home.
Why Choose Wooden Jewelry Box Plans?
Wooden jewelry box plans offer customization‚ durability‚ and a timeless appeal. They allow you to craft unique‚ eco-friendly storage solutions tailored to your style. With detailed guides‚ you can create beautiful‚ functional pieces that are both sustainable and cost-effective. Perfect for gifts or personal use‚ these plans enable you to add a personal touch to your woodworking projects‚ ensuring a treasured keepsake for years to come.
Materials and Tools Needed
Essential materials include high-quality wood‚ hinges‚ and finishes. Tools like sandpaper‚ saws‚ and drills are required for precise cutting and assembly‚ ensuring a polished outcome.
Essential Wood Types for Jewelry Boxes
Premium wood types like cherry‚ walnut‚ and oak are ideal for jewelry boxes due to their durability and aesthetic appeal. Cherry wood offers strength and a rich grain pattern‚ while walnut provides a dense‚ dark finish. Oak is versatile and durable‚ making it perfect for intricate designs. These woods are widely used in jewelry box plans for their exceptional craftsmanship and polished outcomes.
Tools Required for Construction
Essential tools for building a wooden jewelry box include a table saw or circular saw for cutting wood‚ a sander for smoothing surfaces‚ and a drill for precise holes. Clamps‚ measuring tapes‚ and chisels are also crucial for assembly and detailing. Power tools like routers can add decorative edges‚ while hand tools ensure precision and control during the construction process.
Step-by-Step Construction Guide
Follow a comprehensive guide to build a wooden jewelry box‚ from cutting wood to finishing touches. Perfect for beginners and experienced woodworkers‚ ensuring clarity and ease.
Cutting and Assembling the Box
Start by measuring and cutting the wood according to your plan. Use a saw for precise cuts. Assemble the box using glue and clamps‚ ensuring corners align perfectly. Sand edges for smoothness. Attach the base securely. Follow step-by-step instructions to ensure a sturdy structure. Allow glue to dry before moving to the next step; This step is crucial for a professional finish.
Adding a Lid and Hardware
Attach the lid using hinges for easy opening. Measure and screw the hinges into place‚ ensuring proper alignment. Add a handle or latch for secure closure. Sand the edges for smoothness; Install any additional hardware‚ like a lock‚ for security. Ensure the lid fits perfectly and operates smoothly. This step completes the box’s functionality‚ making it ready for use or customization.
Embellishments and Customization
Elevate your jewelry box with intricate inlays‚ carved designs‚ or painted patterns. Add a personalized touch with engravings or stains for a unique‚ polished finish.
Adding Inlays and Designs
Incorporate elegant inlays using contrasting wood species‚ metal‚ or mother-of-pearl for a sophisticated look. Experiment with intricate parquetry or marquetry techniques to create stunning patterns. Add personalized touches like engraved names or symbols for a unique flair. Finishing with a clear coat ensures durability while highlighting the craftsmanship. These artistic elements transform a simple box into a treasured keepsake.
Finishing Techniques for a Polished Look
Achieve a professional finish by sanding the wood to a smooth surface. Apply a clear coat of polyurethane or wax for protection and shine. Allow each layer to dry thoroughly before buffing. Consider staining or painting for a personalized touch. A well-executed finish enhances the natural beauty of the wood‚ ensuring the box looks elegant and lasts for years to come.
Storage and Organization Solutions
Maximize space with compartments and dividers‚ keeping jewelry organized and within easy reach. Secret compartments add security for treasured items‚ ensuring everything stays tidy and accessible.
Compartments and Dividers
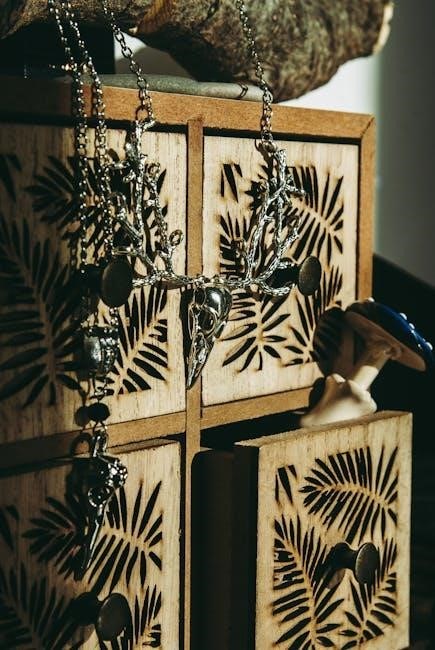
Compartments and dividers in wooden jewelry boxes maximize storage efficiency‚ keeping items organized and easy to find. Adjustable dividers allow customization to fit various jewelry types‚ while secret compartments provide secure spaces for valuables. These features ensure jewelry remains untangled and protected‚ enhancing the functionality of the box. Ideal for both everyday use and special occasions‚ compartments and dividers add practical elegance to the design.
Secret Compartments for Valuables
Secret compartments in wooden jewelry boxes offer a discreet and secure way to store valuable items. These hidden spaces can be seamlessly integrated into the design‚ providing an extra layer of protection for treasured belongings. From sliding panels to hidden drawers‚ these compartments add both functionality and elegance‚ making them a thoughtful addition to any jewelry box design.
Safety Tips and Best Practices
Ensure safety by wearing protective gear like safety glasses and a dust mask. Always handle tools with care and keep workspaces clean and well-lit.
Working with Power Tools Safely
Always wear safety glasses and a dust mask when operating power tools. Keep loose clothing tied back and ensure workspaces are well-lit and free from clutter. Maintain a firm grip on tools‚ avoid overreaching‚ and never leave them unattended. Regularly inspect tools for damage and follow manufacturer guidelines for proper usage. Proper maintenance ensures efficiency and prevents accidents.
Avoiding Common Mistakes
Ensure accurate measurements to prevent misfits. Avoid rushing the assembly process‚ as this can lead to uneven joints. Sand all surfaces thoroughly before staining or finishing. Use clamps to hold pieces steady during gluing. Double-check hardware placement to avoid misalignment. Test finishes on scrap wood first to ensure color consistency. Proper planning and patience are key to achieving professional results.
Gifting and Personalization Ideas
Wooden jewelry boxes make thoughtful gifts‚ especially when personalized with engravings or custom finishes‚ perfect for birthdays‚ anniversaries‚ or special occasions‚ making each piece truly unique.
Customizing for Special Occasions
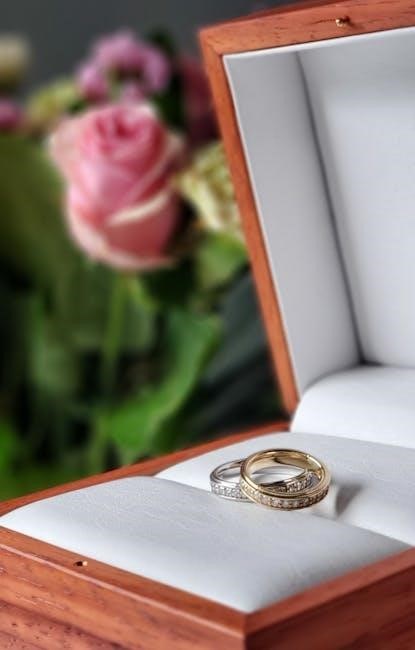
Personalize wooden jewelry boxes for birthdays‚ weddings‚ or anniversaries by adding engravings‚ inlays‚ or unique finishes. These custom touches make each piece a meaningful gift‚ tailored to celebrate life’s special moments with elegance and thoughtfulness‚ ensuring the recipient treasures it forever.
Adding Engraved Details
Engrave names‚ patterns‚ or symbols to add a personal touch to your wooden jewelry box. Use rotary tools or CNC machines for precise designs. This customization enhances the box’s sentimental value‚ making it a unique gift for special occasions or a cherished personal item.
Plans for All Skill Levels
Wooden jewelry box plans are available for all skill levels‚ from simple DIY projects for beginners to intricate designs for experienced woodworkers‚ ensuring everyone can create a beautiful piece.
Simple Plans for Beginners
Perfect for first-time woodworkers‚ simple wooden jewelry box plans require minimal tools and materials. These PDF guides offer step-by-step instructions‚ ideal for creating a basic yet elegant storage solution. Great for small projects‚ they include material lists and easy-to-follow diagrams‚ making them perfect for crafting a personalized gift or starting your woodworking journey.
Advanced Designs for Experienced Woodworkers
Elevate your craftsmanship with intricate wooden jewelry box designs. These advanced plans feature complex inlays‚ multi-compartment layouts‚ and unique styling. Perfect for showcasing mastery‚ they include detailed instructions for precision cutting and assembly. Ideal for creating heirloom pieces‚ these PDF guides cater to skilled woodworkers seeking challenging yet rewarding projects to enhance their portfolio.
Free PDF Resources and Downloads
Explore a variety of free PDF plans for wooden jewelry boxes‚ offering detailed guides‚ diagrams‚ and material lists. Perfect for DIY enthusiasts and woodworkers alike.
Where to Find Free Jewelry Box Plans
Find free wooden jewelry box plans in PDF format on platforms like Etsy‚ Woodsmith‚ and various woodworking websites. These plans often include detailed instructions‚ diagrams‚ and material lists. Some designs feature secret compartments or inlay tops‚ catering to different skill levels and woodworking interests. Perfect for DIY enthusiasts looking to create unique storage solutions.
Downloading and Printing PDF Files
Downloading and printing wooden jewelry box plans in PDF format is straightforward. Ensure you have a PDF reader installed‚ such as Adobe Acrobat. Print on high-quality paper for clear instructions. Adjust settings for proper scaling and orientation. Some plans are designed to fit standard paper sizes‚ while others may require adjustments. Always preview before printing to ensure accuracy and avoid wasted materials.
Creating a wooden jewelry box is a rewarding project. Follow plans carefully‚ embrace customization‚ and enjoy the satisfaction of crafting a beautiful‚ functional keepsake. Share your creation proudly!
Maintaining Your Wooden Jewelry Box
To keep your wooden jewelry box in pristine condition‚ regularly polish it with a soft cloth and wood-safe products. Avoid exposure to moisture‚ as it can damage the finish. Store the box in a dry‚ cool place to preserve its beauty. For intricate designs‚ use a gentle cleaner to prevent scratching. Proper care ensures your handmade treasure remains a lasting keepsake for years to come.
Sharing Your Project with Others
Sharing your wooden jewelry box project can inspire others and showcase your craftsmanship. Post photos on social media or DIY forums to connect with fellow woodworkers. Consider gifting your creation to loved ones‚ adding a personal touch to special occasions. You can also share your plans or tutorials online‚ helping others embark on their own woodworking journeys and fostering a sense of community.