This manual provides essential guidance for troubleshooting, repairing, and maintaining the Samsung DV40J3000EW/A2 dryer, ensuring optimal performance and extending its lifespan․ Perfect for DIY enthusiasts and professionals, it covers detailed repair procedures, safety tips, and parts replacement instructions, making it a comprehensive resource for users to address common issues and keep their dryer functioning efficiently․ The manual is specifically designed for the 7․2 cu․ft․ electric dryer with a moisture sensor, offering clear, step-by-step solutions to diagnose and fix problems effectively․
1․1 Importance of the Repair Manual
The Samsung DV40J3000EW/A2 repair manual is crucial for troubleshooting and repairing issues efficiently․ It provides detailed instructions, safety guidelines, and diagnostic tools, ensuring proper maintenance and extending the dryer’s lifespan․ With clear step-by-step procedures, it empowers users to address common problems confidently․ The manual also helps prevent costly repairs by identifying issues early and offering solutions․ Its comprehensive nature makes it an indispensable resource for both DIY enthusiasts and professionals, ensuring optimal performance and safety for the appliance․
1․2 Overview of the Samsung DV40J3000EW/A2 Dryer Model
The Samsung DV40J3000EW/A2 is a 7․2 cu;ft․ electric dryer designed for efficient performance and user convenience․ It features a moisture sensor to prevent over-drying and includes multiple preset cycles for various fabric types․ This model is known for its large capacity, making it ideal for families with heavy laundry demands․ Its compact design and quiet operation enhance its appeal․ The dryer’s modern technology ensures energy efficiency and reliable operation, making it a popular choice among consumers seeking a durable and high-performing appliance․
Key Features and Components of the Samsung DV40J3000EW/A2
The Samsung DV40J3000EW/A2 features a 7․2 cu․ft․ capacity, moisture sensors, and multiple preset cycles for efficient drying․ Key components include the drum, motor, heating element, and control panel․
2․1 Design and Capacities
The Samsung DV40J3000EW/A2 dryer features a spacious 7․2 cu․ft․ drum, ideal for large families․ Its compact design fits standard laundry spaces while offering ample capacity․ The model includes advanced moisture sensors, multiple drying cycles, and an energy-efficient motor․ The drum is designed for gentle fabric handling, reducing wear and tear․ This dryer balances performance and energy efficiency, making it suitable for various household needs․ Its sleek design and robust construction ensure durability and reliability for long-term use․
2․2 Major Components and Their Functions
The Samsung DV40J3000EW/A2 dryer includes key components like the drum, motor, heating element, moisture sensors, control panel, and belt․ The drum holds clothing during cycles, while the motor powers its rotation․ The heating element generates heat for drying, and moisture sensors monitor fabric dryness to prevent over-drying․ The control panel manages settings and cycle selection, and the belt connects the motor to the drum, ensuring smooth operation․ Each part works together to ensure efficient and safe drying performance․
How to Download and Use the Samsung DV40J3000EW/A2 Manual
Download the manual from sources like Sears Parts Direct or Samsung Support․ Use the PDF to access troubleshooting guides, diagrams, and step-by-step repair instructions for your dryer model․
3․1 Sources for the Official Repair Manual
The official Samsung DV40J3000EW/A2 repair manual can be downloaded from trusted sources like Sears Parts Direct, Samsung Support websites, and ManualsLib; These platforms offer free PDF downloads, detailed diagrams, and repair guides․ Sears Parts Direct provides parts lists and troubleshooting tips, while Samsung’s official site ensures authenticity․ Additionally, websites like Fix․com and Internet Archive host comprehensive service manuals, making it easy to access reliable information for DIY repairs and maintenance․
3․2 Navigating the Manual for Repair Information
The manual is structured for easy navigation, starting with a table of contents that directs users to specific repair sections․ Detailed diagrams and exploded views help identify components, while troubleshooting guides and error codes provide quick solutions․ Users can locate parts lists, diagnostic procedures, and wiring diagrams․ The manual also includes maintenance tips and repair steps, ensuring users can efficiently address issues․ Utilize the index or search function to quickly find relevant information, making DIY repairs more accessible and straightforward․
Safety Precautions for Repairing the Samsung DV40J3000EW/A2
Always unplug the dryer before starting repairs to avoid electrical hazards․ Wear protective gear and ensure proper ventilation․ Follow manual guidelines to prevent accidents and damage․
4․1 Essential Safety Measures
Before repairing your Samsung DV40J3000EW/A2 dryer, ensure the unit is unplugged from the power source to prevent electrical shocks or injuries․ Always wear protective gloves and safety goggles to safeguard against sharp edges or debris․ Proper ventilation is crucial to avoid inhaling dust or fumes during disassembly․ Never bypass safety features or ignore warning labels in the manual․ Keep children and pets away from the work area to prevent accidents․ Adhere strictly to the manual’s guidelines to ensure your safety and the integrity of the appliance․
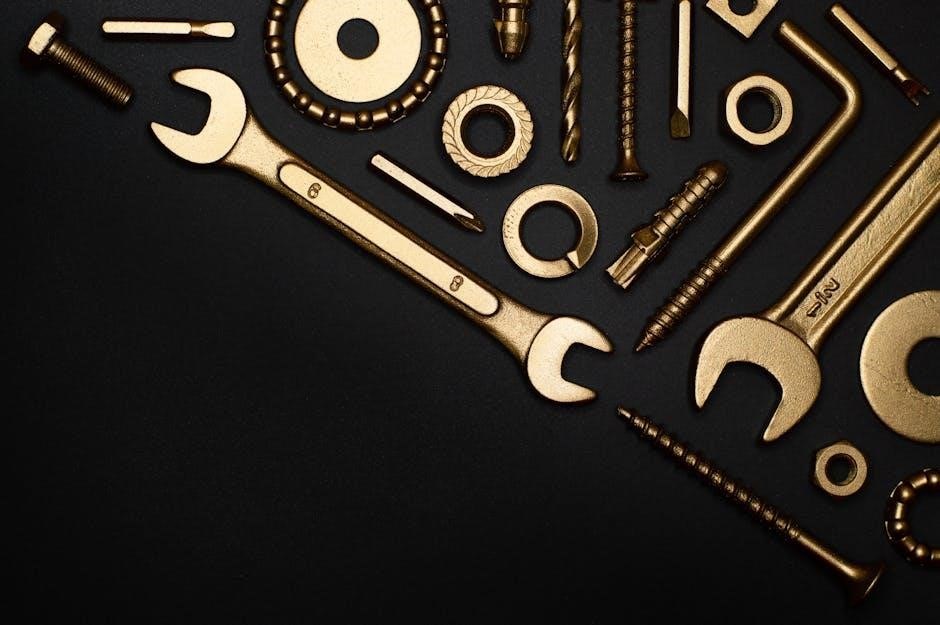
4․2 Tools and Equipment Needed for Repair
To repair the Samsung DV40J3000EW/A2 dryer, gather essential tools like screwdrivers (Phillips and flathead), pliers, a Torx driver, and a wrench for removing panels and components․ A multimeter is useful for diagnosing electrical issues․ Protective gear such as gloves and safety goggles is crucial for safe handling․ Ensure you have replacement parts compatible with the model, as specified in the manual․ Refer to the manual for specific tools required for intricate repairs, and always follow safety guidelines to avoid damage or injury․

Troubleshooting Common Issues with the Samsung DV40J3000EW/A2
This section helps identify and resolve common problems like the dryer not heating, not turning on, or making unusual noises․ It provides diagnostic steps and solutions․

5․1 Identifying Common Problems
The Samsung DV40J3000EW/A2 dryer may experience issues like not heating, not turning on, or producing unusual noises․ Common problems include faulty heating elements, malfunctioning thermostats, or clogged vents․ Error codes like “E” or “HE” often indicate specific issues; The manual helps users identify these problems by providing detailed symptom descriptions and diagnostic steps․ By understanding the root cause, users can address issues effectively, ensuring the dryer operates smoothly and safely․ Regular maintenance can also prevent many of these common problems from arising․
5․2 Diagnostic Techniques and Error Codes
The Samsung DV40J3000EW/A2 repair manual outlines diagnostic techniques to identify issues using error codes such as “E” or “HE․” These codes often indicate specific problems like heating element failures or sensor malfunctions․ Users can reference the manual to interpret codes and perform troubleshooting steps, such as checking vent blockages or testing electrical connections․ Advanced diagnostics may require specialized tools, but basic issues can often be resolved by following the manual’s step-by-step guidance, ensuring accurate and effective repairs․
Step-by-Step Guide to Replacing Parts
This section provides a detailed, systematic approach to replacing components in the Samsung DV40J3000EW/A2 dryer, including locating parts, disassembly, and reassembly procedures for a successful repair․
6․1 Locating and Ordering Replacement Parts
To locate and order replacement parts for your Samsung DV40J3000EW/A2 dryer, start by identifying the exact model number and the specific part needed․ Use resources like Sears Parts Direct or Fix․com, which offer OEM parts and detailed diagrams․ Search by model number or part title to ensure accuracy․ Compare prices across retailers, including official Samsung dealers and reputable third-party sellers, to find the best deals․ Consider purchasing repair kits for multiple components, check for fast shipping options, and verify seller reviews to ensure reliability․ Keep records of your orders and contact customer support if issues arise․
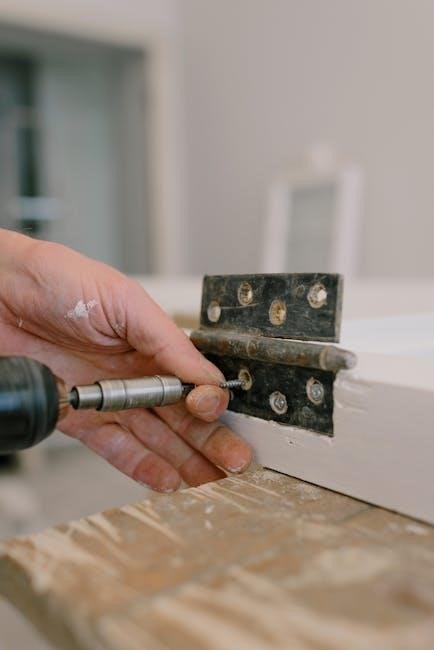
6․2 Instructions for Replacing Key Components
Replacing key components of the Samsung DV40J3000EW/A2 dryer requires careful planning and adherence to safety guidelines․ Start by disconnecting the power supply and wearing protective gear․ For the heating element, remove the back panel, disconnect wiring, and replace the faulty element with a compatible part․ The drum belt can be replaced by lifting the top panel, loosening the drum, and installing the new belt․ Replace the igniter by accessing the burner assembly, disconnecting connections, and installing the new igniter․ Always use OEM parts and consult the manual for specific instructions․ If unsure, seek professional assistance to avoid further damage or safety risks․
Disassembling and Reassembling the Dryer
Disassembling the Samsung DV40J3000EW/A2 involves removing panels and disconnecting components carefully․ Follow the service manual’s diagrams for precise steps․ Reassemble by aligning parts correctly and ensuring all connections are secure․ Always use OEM parts and verify safety precautions before reconnecting power․ If unsure, consult a professional to avoid damage or hazards․
7․1 Detailed Disassembly Instructions
Begin by disconnecting the power supply and removing the top panel using a screwdriver․ Gently pry open the lid and disconnect the lid switch connector․ Next, remove the front panel screws and carefully lift the panel to access the drum․ Detach the belt from the motor pulley and slide the drum out․ Use a wrench to remove the heating element bolts․ Document each step for easy reassembly․ Always refer to the official manual for precise diagrams and safety guidelines․
7․2 Reassembly Process and Tips
Reattach the heating element and secure it with the bolts tightened evenly․ Reinstall the drum, ensuring proper alignment with the rear rollers․ Reconnect the belt to the motor pulley and verify tension․ Replace the front panel, aligning it carefully before screwing it in place․ Reattach the lid switch connector and close the top panel, ensuring all screws are tightened securely․ Double-check all connections and test the dryer to ensure proper function․ Always refer to the manual for precise diagrams to avoid misalignment or loose connections․

Understanding Wiring Diagrams and Electrical Repairs
Learn to interpret wiring diagrams for the Samsung DV40J3000EW/A2 dryer, identifying key components and connections․ Understand how to trace circuits, diagnose electrical faults, and safely repair or replace faulty wires, switches, or sensors to restore proper function․ Always refer to the manual’s schematic diagrams for accurate guidance and ensure all repairs are performed with the dryer unplugged to avoid electrical hazards․ This section is crucial for addressing power-related issues and ensuring safe, efficient repairs․
8․1 Reading Schematic Diagrams
Understand how to interpret the wiring diagrams for the Samsung DV40J3000EW/A2 dryer, which are essential for identifying components and their connections․ These diagrams, typically found in the service manual, provide a visual representation of the electrical system, allowing you to trace circuits and diagnose issues․ Familiarize yourself with the symbols, legends, and color codes used in the diagrams to accurately identify wires, sensors, and other electrical elements․ This knowledge is crucial for safely and effectively performing electrical repairs and ensuring proper functionality․
8․2 Common Electrical Issues and Solutions
Common electrical issues with the Samsung DV40J3000EW/A2 dryer include error codes, blown fuses, or faulty sensors․ If an error code appears, consult the manual for specific solutions․ A blown fuse may require replacement․ Faulty sensors can cause improper heating, so check and replace them if necessary․ Always disconnect power before repairs to ensure safety․ Refer to the wiring diagram for precise troubleshooting and part identification, ensuring quick resolution to restore functionality․

Maintenance Tips to Prevent Future Repairs
Regularly clean the lint filter and vent to improve efficiency and reduce fire risks․ Check the moisture sensor for proper function and ensure the dryer is well-ventilated․
9․1 Regular Maintenance Schedule
Perform monthly checks of the lint filter and exhaust vent to ensure proper airflow․ Every 6 months, inspect the moisture sensor and clean it if necessary․ Annually, check the dryer’s electrical connections and ensure the drum belt is in good condition․ Regularly vacuuming the venting system and ensuring the dryer is level can prevent imbalances and reduce wear․ Additionally, cleaning the condenser (if applicable) and ensuring the dryer is well-ventilated will maintain efficiency and prevent overheating, extending the appliance’s lifespan and reliability․
9․2 Tips for Extending the Lifespan of the Dryer
Regularly clean the lint filter and exhaust vent to maintain proper airflow, reducing the risk of overheating and fire hazards․ Ensure the dryer is installed on a level surface to prevent vibrations and uneven wear․ Avoid overloading the drum, as this can strain the motor and belt․ Use the correct venting materials to prevent moisture buildup and damage․ Clean the moisture sensor periodically to ensure accurate drying cycles․ Finally, consider using the energy-saving mode to reduce wear on internal components and extend the dryer’s lifespan․
This manual provides comprehensive repair information, empowering users to address issues confidently․ With detailed guidance for both DIY enthusiasts and professionals, it ensures reliable results and extends the dryer’s lifespan effectively․
10․1 Final Thoughts on DIY Repair
DIY repair empowers users to resolve issues cost-effectively while gaining hands-on experience․ With the Samsung DV40J3000EW/A2 manual, enthusiasts can confidently troubleshoot and fix common problems, saving time and money․ However, safety and proper tools are crucial to avoid further damage or injury․ Regular maintenance and adherence to guidelines ensure longevity and efficiency․ DIY repair fosters self-reliance but requires precision and care to achieve optimal results and maintain the dryer’s performance over time․
10․2 When to Seek Professional Assistance
While DIY repair is cost-effective, certain issues require professional expertise․ Complex problems like faulty heating elements, electrical malfunctions, or drum roller replacements may necessitate specialized tools and knowledge․ If you’re unsure about diagnosing or fixing an issue, consulting a certified technician ensures safety and prevents further damage․ Professional assistance guarantees proper repairs, maintaining your dryer’s efficiency and longevity;