Safety Instructions for Your New Home Sewing Machine
Read all instructions before use. Ensure proper electrical connections and avoid modifications. Keep the machine out of children’s reach. Use only recommended accessories and maintain the needle area clean. Always turn off the machine during adjustments or needle changes to prevent accidents.
1.1 General Safety Precautions
Always turn off the machine when making adjustments or changing needles. Read the manual thoroughly before use. Keep children away and ensure proper electrical connections. Avoid modifying the machine or using unauthorized parts. Use the correct needle type and keep the work area clean. Never leave the machine unattended while in operation.
1.2 Understanding Warning Marks and Pictographs
Warning marks and pictographs guide safe operation. A triangle indicates caution‚ while a circle with a line through it signals prohibited actions. These symbols highlight electrical warnings‚ proper needle usage‚ and other critical safety measures. Familiarize yourself with these marks to prevent accidents and ensure correct machine usage.
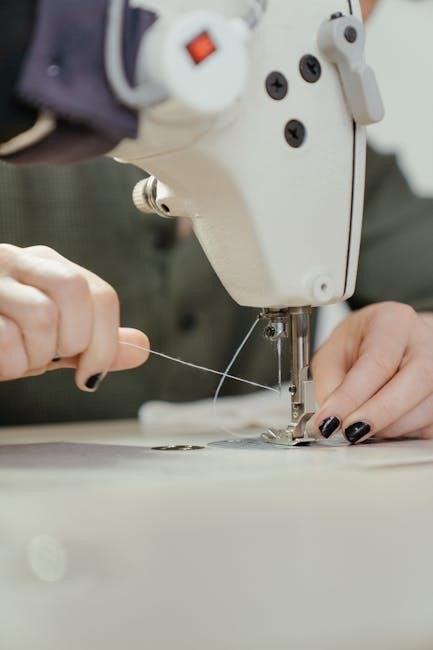
1.3 Special Care Around the Sewing Machine Needle
Always handle the needle carefully to avoid injury. Use the correct needle plate to prevent breakage. Turn off the machine before changing needles or adjusting nearby parts. Keep fingers away from moving components. Regularly inspect and replace worn or damaged needles to ensure smooth stitching and safety during operation.
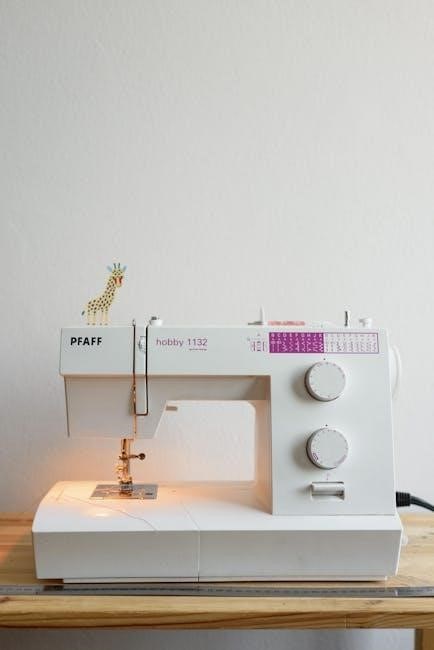
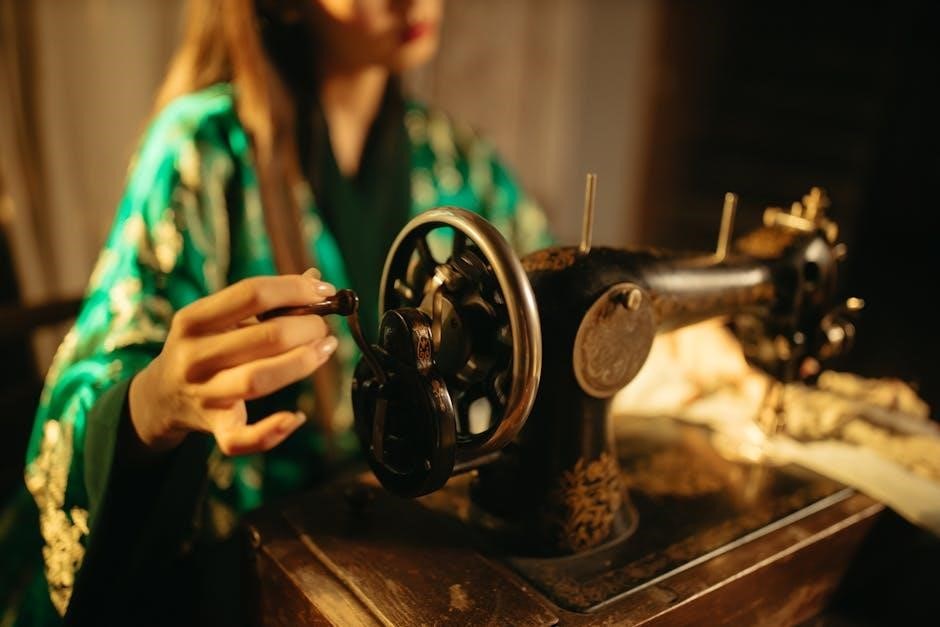
Parts and Functions of the Sewing Machine
The machine includes a needle‚ bobbin‚ spool pins‚ tension dials‚ and foot pedal. Each part works together to ensure precise stitching‚ thread control‚ and smooth operation.
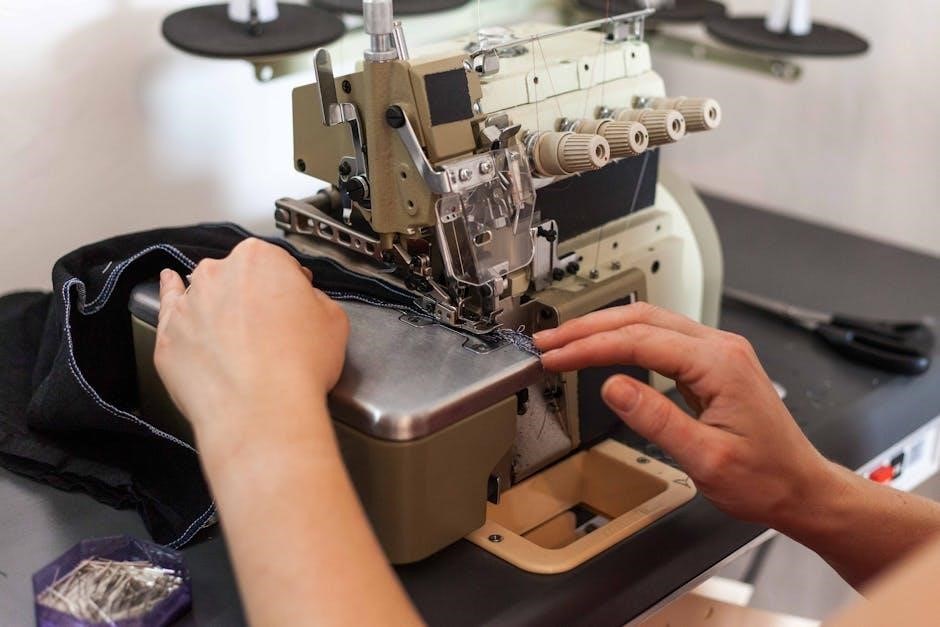
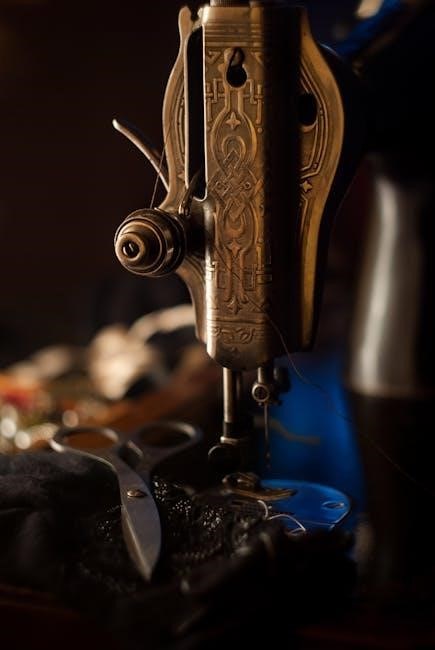
2.1 Major Components of the Machine
The sewing machine features a sturdy frame‚ a rotating hook‚ a needle bar‚ bobbin case‚ spool pins‚ and tension dials. Additional components include the foot pedal‚ stitch length regulator‚ and reverse stitch lever. These parts work together to facilitate smooth fabric movement‚ consistent stitching‚ and easy thread management for various sewing tasks.
2.2 Function of Each Part
The needle punctures fabric‚ creating stitch loops‚ while the bobbin holds the bottom thread. Tension dials regulate thread tightness‚ ensuring even stitching. The foot pedal controls machine speed‚ and the stitch length dial adjusts seam length. The reverse stitch lever reinforces seams‚ preventing unraveling. Each part works harmoniously to achieve precise and durable stitching results.
Threading and Bobbin Management
Proper threading and bobbin management are crucial for smooth stitching. Always guide the thread through the machine’s tension discs and take-up lever. Wind the bobbin evenly‚ ensuring it’s securely inserted. Correct threading prevents thread breakage and ensures consistent stitch quality for optimal sewing performance.
3.1 Step-by-Step Guide to Threading the Machine
Turn the machine off and locate the spool pin. Place the thread on the pin‚ pulling it through the machine’s tension discs and take-up lever. Gently pull the thread to ensure it’s seated properly. 2. Insert the thread through the needle’s eye from front to back. 3. Trim excess thread to prevent tangles. This ensures smooth operation and consistent stitching quality. Always follow the manual’s threading diagram for accuracy and to avoid common issues like thread breakage or uneven tension.
3.2 Winding and Inserting the Bobbin
Place the bobbin on the winder and secure it. 2. Pull the thread through the bobbin’s hole and wind it evenly. 3. Cut the thread and insert the bobbin into the machine’s bobbin case. 4. Pull the thread through the slot to ensure proper seating. 5. Close the bobbin compartment and test the tension before sewing.

Basic Sewing Operations
Start by turning on the machine and selecting the desired stitch. Align fabric edges under the needle. Gently guide the fabric as it sews. Use the reverse stitch for secure seams. Always maintain proper thread tension and monitor the needle’s movement for smooth stitching. Keep the work area clear to ensure even fabric flow.
4.1 Straight Stitch Sewing
Select the straight stitch option on your machine. Align fabric edges under the needle. Start sewing slowly‚ guiding fabric evenly. Maintain consistent tension by keeping the fabric taut. Avoid pulling or pushing too hard‚ allowing the machine to move naturally. Use the foot pedal to control speed‚ ensuring straight‚ uniform stitches for a professional finish.
4.2 Reverse Stitch Function
Engage the reverse stitch lever to reinforce seams at the beginning and end. Start sewing‚ then stop to ensure fabric alignment is correct. Resume sewing forward‚ maintaining even tension. This feature prevents unraveling and secures stitching effectively for durable results. Always check fabric alignment before proceeding to ensure professional finishes and avoid loose threads.
4.3 Adjusting Thread Tension
Adjust thread tension by turning the upper or lower tension dials. Tighten for firm stitches and loosen for softer results. Test on scrap fabric to ensure balanced tension‚ preventing loose threads or puckering. Refer to the manual for specific dial locations and guidance to achieve optimal stitching quality for various fabrics and projects.
Maintenance and Care Tips
Regularly clean the machine to remove dust and debris. Oil moving parts as instructed in the manual. Store in a dry place to prevent rust. Always follow the manual for proper care and maintenance to ensure optimal performance and longevity of your sewing machine.
5.1 Cleaning the Machine
Turn off and unplug the machine. Use a soft brush to remove dust and lint from the bobbin area and stitch plate. Gently wipe exterior surfaces with a damp cloth. Avoid harsh chemicals to prevent damage. Regular cleaning ensures smooth operation and prevents mechanical issues. Refer to the manual for detailed cleaning instructions.
5.2 Oiling the Machine
Regularly oil the machine to maintain smooth operation. Use high-quality sewing machine oil as recommended. Apply a few drops to the bobbin hook and moving parts. Gently rotate the handwheel to distribute the oil evenly. Excess oil may attract dust‚ so wipe clean with a soft cloth after application. Follow manual guidelines for optimal results.
5.3 Storage and Transportation Tips
Store the machine in a dry‚ cool environment to prevent rust. Use a soft cover to protect from dust. When transporting‚ handle with care to avoid damage. Secure the machine firmly to prevent movement. Always refer to the manual for specific storage and transport guidelines to ensure longevity and proper maintenance of your sewing machine.

Troubleshooting Common Issues
Identify common issues like thread tension problems‚ skipped stitches‚ or unusual noise. Refer to the manual or consult a professional technician for effective resolution and maintenance.
6.1 Thread Tension Problems
Incorrect thread tension can cause uneven stitches or fabric puckering. Check the tension by gently pulling the thread. If too tight‚ loosen the tension screw. If too loose‚ tighten it. Ensure the thread guides are properly aligned. Consult the manual for specific adjustment instructions to achieve optimal stitching results.
6.2 Skipped Stitches and Needle Breakage
Skipped stitches may occur due to incorrect needle size‚ poor thread quality‚ or improper tension. Ensure the needle is aligned correctly and tightly secured. If the needle breaks‚ stop the machine immediately. Replace the needle with a compatible type‚ like SCHMETZ 130/705H‚ and rethread the machine. Always use the recommended needle for your fabric type.
6.3 Machine Noise or Vibration
Excessive noise or vibration may indicate improper setup or maintenance. Ensure the machine is placed on a stable‚ flat surface. Check for sufficient oil levels and clean the interior regularly. If issues persist‚ refer to the manual for lubrication and adjustment instructions. Proper care can prevent mechanical strain and ensure smooth operation.
Accessories and Attachments
Essential accessories include zipper feet‚ buttonhole attachments‚ and appliqué kits. Optional attachments like quilting extensions enhance functionality. Use only manufacturer-recommended parts for optimal performance and safety.
7.1 Essential Accessories for Household Sewing
Essential accessories include zipper feet for sewing zippers‚ buttonhole attachments for creating perfect buttonholes‚ and appliqué kits for decorative stitching. Basic sewing notions like bobbins‚ needles‚ and thread are crucial for smooth machine operation. These tools enhance functionality and ensure professional-quality results for household sewing projects.
7.2 Optional Attachments for Advanced Projects
Optional attachments include embroidery hoops‚ quilting extensions‚ and specialized presser feet like rufflers or teflon feet. These enhance creativity for advanced sewing tasks‚ such as intricate embroidery‚ large quilts‚ or smooth stitching on delicate fabrics. They expand the machine’s versatility‚ enabling users to tackle complex projects with precision and ease.
Sewing Projects for Beginners
Start with simple household linens‚ like pillowcases or napkins‚ to build confidence. Gradually move to basic clothing repairs and small crafts‚ fostering essential sewing skills.
8.1 Simple Household Linens
Begin with simple household linens like pillowcases‚ napkins‚ or tablecloths using straight stitches. These projects are ideal for practicing basic sewing techniques and thread tension adjustments. Start with straight lines to build confidence‚ then gradually incorporate fabric matching and seam allowances for a polished finish‚ enhancing your sewing skills effectively.
8.2 Basic Clothing Repairs
Master basic clothing repairs like mending torn seams‚ replacing buttons‚ and repairing hems. Use the straight stitch for simple fixes and the reverse stitch for secure finishes. Practice on scrap fabric to refine your skills before working on actual garments‚ ensuring professional-looking results for everyday clothing maintenance and extending the life of your wardrobe.
8.3 Advanced Projects for Skill Development
Challenge yourself with advanced projects like tailored garments‚ quilting‚ or intricate home decor. Practice working with zippers‚ buttonholes‚ and multi-layer fabrics; Experiment with various stitches and techniques to enhance your sewing proficiency. These projects will help refine your skills and build confidence in tackling complex designs and patterns for professional-grade results.
Community and Support Resources
Join online forums and communities for tips and troubleshooting. Access manufacturer support and service centers for professional assistance. Utilize video tutorials and guides to enhance your sewing skills and resolve common issues efficiently. These resources provide comprehensive support to help you master your New Home sewing machine and improve your crafting experience. Ensure to leverage these tools for continuous learning and project success.
9.1 Online Forums and Communities
Engage with online forums and sewing communities for tips‚ troubleshooting‚ and project ideas. Platforms like Facebook groups and Reddit offer dedicated spaces for New Home sewing machine users. Share experiences‚ ask questions‚ and learn from experts. These communities provide valuable resources‚ tutorials‚ and support to enhance your sewing skills and resolve common issues effectively.
9.2 Manufacturer Support and Service Centers
Manufacturer support and service centers provide comprehensive assistance for your New Home sewing machine. Official manuals offer detailed guides for maintenance‚ troubleshooting‚ and repairs. Service centers‚ staffed by experts‚ ensure optimal performance‚ extending the machine’s lifespan. Utilize these resources to resolve issues efficiently and properly maintain your machine’s functionality and longevity.
9.3 Video Tutorials and Guides
Video tutorials and guides provide step-by-step visual instructions for operating and maintaining your New Home sewing machine. These resources cover threading‚ troubleshooting‚ and advanced techniques‚ helping users master various sewing operations. They are available online‚ offering an accessible way to enhance your sewing skills and resolve common issues effectively.
Congratulations on mastering your New Home sewing machine! Embrace creativity‚ practice regularly‚ and enjoy crafting. Happy sewing!
10.1 Encouragement for Continuous Learning
Embrace your sewing journey with enthusiasm! Explore new techniques‚ join sewing communities‚ and experiment with creative projects. Regular practice enhances skills‚ while staying updated with trends and resources keeps you inspired. Remember‚ every stitch is a step toward mastery—enjoy the process and celebrate your progress!
10.2 Importance of Following the Manual
Adhering to the manual ensures safe and effective operation of your sewing machine. It provides clear guidelines for proper usage‚ maintenance‚ and troubleshooting. Following instructions reduces the risk of accidents and extends the machine’s lifespan. Avoid modifications and stick to recommended accessories to maintain performance and warranty validity. This ensures a seamless sewing experience.
10.3 Enjoying Your Sewing Journey
Embrace the creativity and satisfaction of sewing with your new machine. Experiment with various fabrics and projects to express your personal style. Join online communities for inspiration and tips. Celebrate small victories and enjoy the process of learning. Sewing is not just a skill—it’s a rewarding hobby that brings joy and accomplishment.