Canon Rebel T3 Camera Instruction Manual: Overview
Explore the Canon EOS Rebel T3’s capabilities with this comprehensive guide. Learn about its features, settings, and operations to enhance your photography skills effectively. The manual covers all buttons, dials, and essential functions for optimal use.
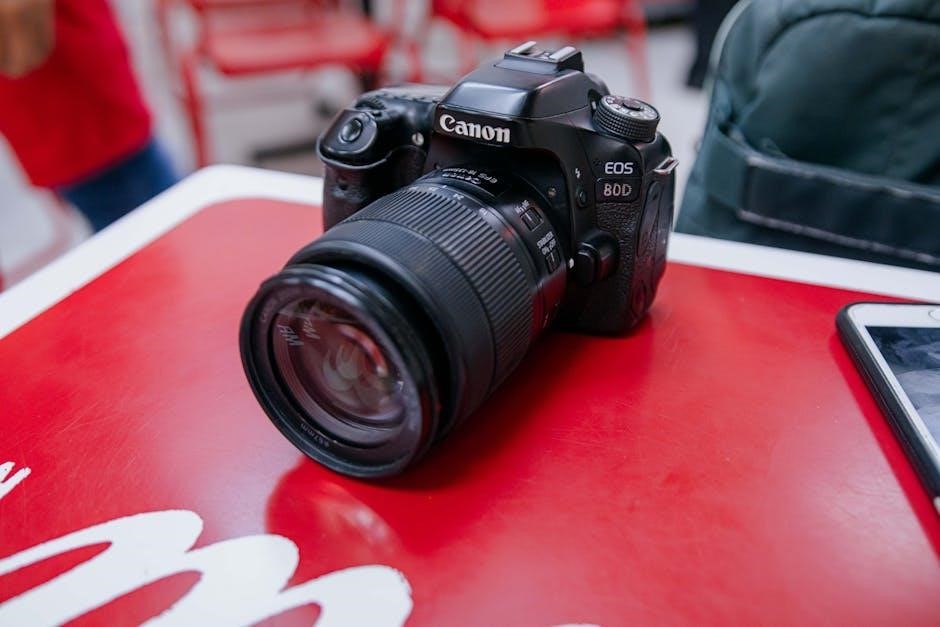
The Canon EOS Rebel T3 is an entry-level DSLR camera designed for photographers transitioning from compact cameras to interchangeable lens systems. Part of Canon’s Rebel series, it offers a 12.2-megapixel CMOS sensor, HD video recording, and a user-friendly interface. Ideal for beginners, the T3 features an 18-55mm IS II kit lens, built-in flash, and essential shooting modes. Its lightweight design and intuitive controls make it a great starting point for capturing high-quality images and videos with ease. This guide helps you unlock its full potential.
Key Features and Technical Specifications
The Canon EOS Rebel T3 features a 12.2-megapixel APS-C CMOS sensor, delivering crisp images with vibrant colors. It supports HD video recording up to 720p and has a DIGIC 4 image processor for enhanced performance. The camera includes an 18-55mm IS II lens, offering optical image stabilization. It also features a 3-inch LCD screen, built-in flash, and compatibility with SD, SDHC, and SDXC memory cards. With ISO sensitivity ranging from 100 to 6400, the T3 is versatile for various lighting conditions. These specifications make it a solid choice for beginner photographers seeking quality and affordability.
Understanding the Camera Layout and Controls
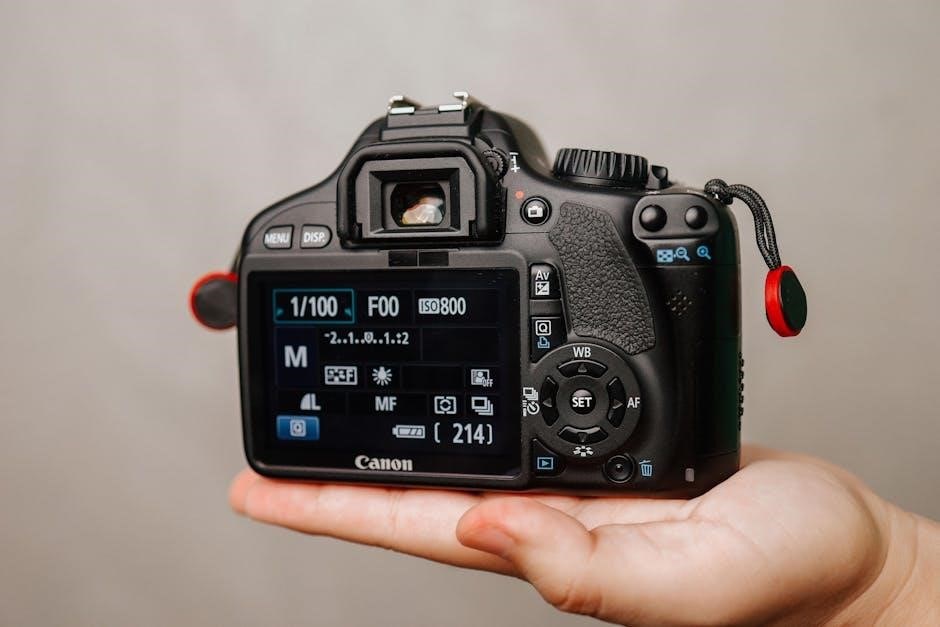
Familiarizing yourself with the Canon Rebel T3’s layout is essential for efficient operation. The mode dial on top allows you to switch between shooting modes like Auto, P, Tv, Av, M, and scene modes. The shutter button is located near the zoom control for easy access. The 3-inch LCD screen displays settings and previews images. Key buttons include the ISO, white balance, and autofocus controls. The multi-controller navigates menus and adjusts settings like exposure compensation. Understanding these controls helps you master the camera’s functionality and improve your photography experience.

Setting Up Your Canon Rebel T3
Unbox and charge your camera, mount the lens, and handle it with care. Set the date, time, and language for proper camera functionality and personalized use.
Unboxing and Initial Setup
When unboxing your Canon Rebel T3, ensure all accessories are included: the camera body, lens, battery, charger, strap, and manuals. Begin by charging the battery using the provided charger until the indicator turns green. Attach the strap for secure handling. Gently mount the lens by aligning the red dots and twisting clockwise. Power on the camera and navigate through the initial setup menu to set your language, date, and time. Familiarize yourself with the camera’s layout and controls before proceeding.
Charging the Battery and Using the Charger
To charge the Canon Rebel T3’s battery, use the provided LC-E10 or LC-E10E charger. Insert the LP-E10 battery into the charger, ensuring it clicks into place. Plug the charger into a power outlet and wait for the charging indicator to turn red. Charging typically takes about 2 hours, after which the indicator will turn green. Avoid overcharging, as it may reduce battery life. Store the battery in a cool, dry place when not in use. Always use Canon-approved chargers to maintain safety and performance.
Mounting the Lens and Basic Camera Handling
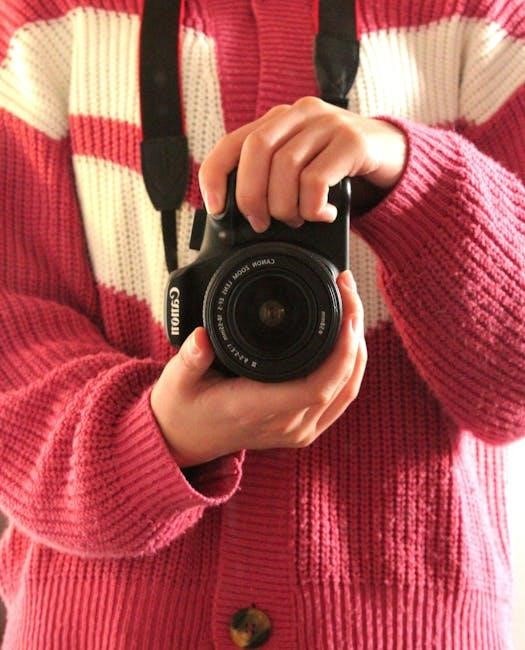
To mount the lens on your Canon Rebel T3, align the white dot on the lens with the white dot on the camera mount. Gently rotate the lens clockwise until it clicks into place. Ensure it is securely locked to prevent any movement. When handling the camera, always hold it with both hands for stability—one hand on the grip and the other supporting the lens. This prevents camera shake and ensures better control. Avoid touching the lens surface to prevent smudges. Use a lens cleaning cloth if necessary. Store the lens with a protective cap when not in use.
Setting the Date, Time, and Language
To set the date, time, and language on your Canon Rebel T3, access the camera menu by pressing the Menu button. Use the cross keys to navigate to the Set-up tab. Highlight Date/Time and press SET to configure the current date and time. Ensure the date format is set to your preference (MM/DD/YYYY). Next, select Language to choose your preferred language for menu displays. After making changes, press Menu to exit. Accurate date/time settings are crucial for file naming and sorting. Always turn off the camera after saving settings to avoid unnecessary battery drain.
Shooting Modes and Settings
Discover the Canon Rebel T3’s shooting modes to enhance your photography. Auto Mode simplifies settings, while Manual Mode offers full creative control. Scene modes optimize specific conditions.
Understanding Auto Mode and Basic Settings
Auto Mode on the Canon Rebel T3 simplifies photography by automatically adjusting settings like aperture, shutter speed, and ISO for optimal results in various lighting conditions. This mode is ideal for beginners, as it allows you to focus on composition while the camera handles technical details. Basic settings include choosing image quality, enabling flash, and setting the autofocus mode. These features ensure sharp, well-exposed images with minimal user intervention, making it a great starting point for new photographers to capture stunning shots effortlessly.
Manual Mode and Custom Settings
Manual Mode on the Canon Rebel T3 offers full control over aperture, shutter speed, and ISO, allowing photographers to tailor settings for creative results. Custom settings enable personalization, such as adjusting white balance, autofocus modes, and button functions. These advanced options cater to both beginners experimenting with manual controls and experienced users seeking precise control. The camera’s flexibility ensures that photographers can fine-tune every aspect of their shots, making it an excellent tool for mastering photography techniques and achieving professional-quality images with ease and precision.
Using Scene Modes for Specific Photography Needs
The Canon Rebel T3 offers a variety of Scene Modes tailored for different photography scenarios. Portrait mode emphasizes subject sharpness, while Landscape mode enhances depth and detail. Sports mode captures fast-moving subjects with blur reduction, and Night mode optimizes low-light shots. These modes automatically adjust camera settings, making it easier to achieve professional results without manual adjustments. By selecting the appropriate Scene Mode, users can ensure their photos are perfectly suited to the situation, whether it’s a family portrait, a sweeping landscape, or a dynamic action shot.
White Balance and ISO Settings
White Balance adjusts color temperature for accurate tones in various lighting conditions, with options like Auto, Daylight, Tungsten, and Shade. ISO settings control light sensitivity, ranging from 100 to 6400, with lower values for bright conditions and higher for low light. Manual ISO allows precise control, while Auto ISO adapts to lighting changes. Balancing these settings ensures optimal image quality, minimizing noise and preserving color accuracy in diverse photographic situations.
Advanced Features and Customization
Customize your Canon Rebel T3 with advanced features like external flash, autofocus modes, and button customization. Tailor settings to enhance creativity and streamline your photography workflow efficiently.
Using the Built-in Flash and External Flash Options
The Canon Rebel T3 features a built-in flash for convenience in low-light conditions. To activate it, press the flash button located on the top of the camera. The flash will automatically pop up and fire when needed. For more control, you can also manually lift the flash using this button. Additionally, the T3 supports external flash units, which can be mounted on the hot shoe or connected via a sync cord for more professional lighting setups. External flashes offer greater flexibility and power, allowing for better illumination in challenging lighting environments. Experiment with flash exposure compensation to adjust the brightness of your flash output, ensuring well-balanced lighting in your photos.
Understanding Autofocus and Metering Modes
The Canon Rebel T3 offers multiple autofocus modes, including One-Shot AF for stationary subjects and AI Servo AF for tracking moving objects. Use the AF point selection button to choose from nine AF points, ensuring precise focus on your subject. For metering, the camera features Evaluative, Center-Weighted, and Spot modes. Evaluative metering is ideal for balanced exposures, while Center-Weighted prioritizes the center of the frame, and Spot metering focuses on a specific area. Adjust metering modes based on lighting conditions to achieve accurate exposures.
Customizing Buttons and Camera Functions
The Canon Rebel T3 allows you to customize camera functions to suit your shooting style. Assign frequently used functions to buttons like the Depth of Field Preview button for quick access. Customize the AF button to control AF modes or switch to focus priority. Additionally, you can set up the Quick Control Dial to adjust ISO or white balance directly. Personalize shooting preferences, such as default settings for the mode dial or file naming conventions, to streamline your workflow. These customizations enhance efficiency and make the camera more intuitive for your needs.
Using Live View and Video Recording
Activate Live View on the Canon Rebel T3 to preview shots on the LCD screen. Use the LCD to frame images, focus, and review settings. For video recording, set the mode dial to Movie mode. Choose from 720p or 1080p resolution at 30 or 24 fps. Use the AF mode to enable Quick AF or Live AF during recording. Manual focus is also available for precise control. Stabilize with a tripod for smooth footage. Adjust settings like exposure compensation and ISO for optimal results. Monitor audio levels and consider using an external microphone for better sound quality. Experiment with creative techniques to enhance your videos.
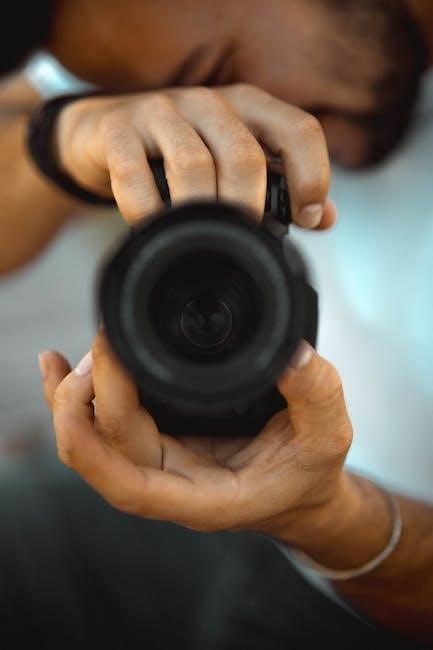
Image Quality and Storage
The Canon Rebel T3 captures high-quality images with adjustable resolution settings. Use SD/SDHC/SDXC cards for storage. Optimize file formats like JPEG or RAW for flexibility and detail retention. Ensure proper card formatting for reliable performance and image organization. Transfer photos to your computer via USB or card readers for editing and sharing. Maintain card health by regular formatting and avoiding low storage conditions. Always use high-speed cards for smooth operation and data integrity. This ensures your images are stored securely and ready for post-processing. Proper storage practices enhance workflow efficiency and image preservation. Regular backups are essential for protecting your work.
Understanding Image Quality Settings
The Canon Rebel T3 offers customizable image quality settings to suit your photography needs. Choose from various resolution options, ranging from 12.2 megapixels for high-detail shots to smaller sizes for sharing. The camera supports both JPEG and RAW file formats, with JPEG ideal for everyday use and RAW providing greater flexibility for post-processing. Fine-tune compression levels in JPEG to balance file size and quality. RAW files capture all image data, offering superior editing capabilities. Adjust these settings to optimize storage and achieve the desired output for your photos. Proper use of image quality settings enhances workflow and ensures exceptional results.
Using Memory Cards and Formatting
For optimal performance, use compatible memory cards with your Canon Rebel T3, such as SD, SDHC, or SDXC cards. Always format your memory card in the camera before first use to ensure proper functionality. Formatting deletes all data, so back up important files beforehand. The camera supports cards up to 128GB, enabling ample storage for high-resolution images. Regular formatting helps maintain card performance and reduces the risk of errors. Use multiple cards for better organization and to prevent data loss. Avoid removing the card during writes to safeguard your photos and ensure smooth operation. Proper card management is key to reliable image storage.
Transferring Images to a Computer
To transfer images from your Canon Rebel T3 to a computer, use the provided USB cable or a memory card reader. Connect the camera directly to your PC via USB, or insert the memory card into a reader. Use Canon’s EOS Utility software for seamless transfer and organization. The software allows you to download images and manage their storage efficiently. Ensure the camera is in Playback mode before connecting. For card readers, simply insert the card and follow your computer’s import process. Always format memory cards in the camera before use to maintain compatibility.
Maintenance and Troubleshooting
Regularly clean the sensor and lens to maintain image quality. Update firmware for optimal performance. Troubleshoot common issues like error messages or battery drainage for smooth operation.
Cleaning the Sensor and Camera Maintenance
Regular maintenance ensures optimal performance and image quality. Use the camera’s automatic sensor cleaning feature to remove dust. For manual cleaning, use a soft brush or swabs with care. Avoid touching the sensor with bare hands. Clean the lens with a microfiber cloth and filtered water. Store the camera in a dry, cool place to prevent moisture damage. Always handle the camera by the body to avoid smudging the lens or sensor. Proper maintenance extends the life of your Rebel T3.
Common Issues and Troubleshooting Tips
Address common issues like battery drain or error messages by resetting the camera or updating firmware. If the lens fails to focus, clean the contacts or reset autofocus settings. For blurry images, ensure image stabilization is enabled and check ISO settings. Error codes like “ERR 99” may require firmware updates or professional servicing. Regularly clean the sensor and lens to prevent dust-related problems. Refer to the manual or Canon support for detailed troubleshooting guides to resolve issues quickly and maintain camera performance.
Updating Firmware and Software
Keep your Canon Rebel T3 up-to-date by regularly checking for firmware updates. Visit Canon’s official website to download the latest version, such as firmware 1.0.5, which enhances camera performance and stability. Use the EOS Utility software to transfer and install updates. Ensure the camera is connected via USB and the battery is fully charged. Follow on-screen instructions carefully to avoid interruptions. Updating firmware improves functionality, fixes bugs, and ensures compatibility with new features or accessories, keeping your camera optimized for exceptional photography experiences.
Mastering your Canon Rebel T3 is a journey of discovery. Experiment with modes, settings, and techniques to unlock its full potential. Happy shooting!
Final Tips for Getting the Most Out of Your Canon Rebel T3
To maximize your Canon Rebel T3 experience, experiment with various shooting modes and custom settings. Regularly clean the sensor and update firmware for optimal performance. Utilize external flash and accessories to enhance creativity. Practice different techniques like adjusting white balance and ISO for better results. Explore video recording and live view for diverse content creation. Refer to the manual for troubleshooting common issues and customizing camera functions. Happy shooting and enjoy capturing life’s moments with precision and creativity!