The Craftsman Table Saw Instruction Manual provides essential guidance for setting up, operating, and maintaining your table saw, ensuring safety, efficiency, and optimal performance․
1․1 Overview of the Manual
The Craftsman Table Saw Instruction Manual is a comprehensive guide designed to help users understand and utilize their table saw effectively․ It covers essential topics such as safety precautions, assembly instructions, operational procedures, and maintenance tips․ The manual also includes troubleshooting advice and detailed diagrams to ensure proper setup and use․ By following the guidelines outlined in this manual, users can maximize their saw’s performance while ensuring a safe working environment․
1․2 Importance of Reading the Manual
Reading the Craftsman Table Saw Instruction Manual is crucial for safe and effective operation․ It provides detailed safety precautions, operational guidelines, and maintenance tips to ensure optimal performance․ Understanding the manual helps users familiarize themselves with the saw’s features, proper setup, and troubleshooting procedures․ Failure to follow the instructions can lead to accidents or equipment damage․ By adhering to the manual, users can maximize productivity while maintaining a safe working environment․ It is essential to review the manual thoroughly before using the table saw for the first time․
1․3 Safety Precautions and Warnings

The Craftsman Table Saw Instruction Manual emphasizes critical safety measures to prevent accidents․ Always wear protective gear, avoid loose clothing, and keep hands away from the blade․ Ensure the saw is properly grounded to prevent electrical shock․ Never operate the saw in wet conditions or near water․ Kickback precautions are essential; use proper workpiece support and avoid overreaching․ The manual warns against unsafe practices, such as removing safety guards or using damaged blades․ Adhering to these precautions ensures a safe and efficient cutting experience․ Regularly inspect the saw for damage or wear․

Safety Instructions
Always wear safety glasses and keep loose clothing tied back․ Ensure the saw is properly grounded and avoid operating in wet conditions․ Keep hands away from the blade and never reach over it while cutting․ Maintain a clean workspace and follow all safety guidelines to minimize risks and ensure safe operation․
2․1 General Safety Rules
Always follow safety guidelines to ensure safe operation․ Wear safety glasses and keep loose clothing tied back․ Ensure the saw is properly grounded and avoid operating in wet conditions․ Keep hands away from the blade and never reach over it while cutting․ Maintain a clean and well-lit workspace․ Use proper push sticks for narrow cuts․ Avoid distractions and keep bystanders away․ Regularly inspect the saw and accessories for damage․ Follow all safety symbols and instructions provided in the manual to minimize risks and prevent accidents․
2․2 Kickback Prevention
Kickback occurs when the blade binds or stalls, causing the workpiece to be forcefully ejected․ To prevent this, ensure proper blade alignment and sharpness․ Use a riving knife or splitter to reduce binding risk․ Maintain firm control of the workpiece and avoid overreaching․ Keep hands away from the blade path and use push sticks or featherboards for narrow or thin materials․ Avoid cutting freehand and ensure the workpiece is securely supported․ Always follow recommended cutting techniques and keep the saw area clear of debris to minimize kickback hazards․
2․3 Proper Workpiece Support
Proper workpiece support is crucial for safe and accurate cutting․ Always use the rip fence or miter fence to guide the workpiece, ensuring it remains stable and aligned with the blade․ For wide or long workpieces, employ auxiliary supports like outriggers or extension tables to prevent tipping․ Ensure the workpiece is flat on the table and clear of obstructions․ Use push sticks or featherboards for thin or narrow materials to maintain control and avoid accidents․ Proper support enhances precision and minimizes the risk of kickback or uneven cuts․
2․4 Electrical Safety
Ensure your Craftsman Table Saw is properly grounded using a three-prong plug in a grounded outlet to prevent electric shock․ Avoid operating the saw in damp environments or exposing it to moisture․ Never use damaged cords or extensions, as they can cause electrical hazards․ Always disconnect the power before performing maintenance or repairs․ If unsure about wiring or electrical setup, consult a qualified electrician․ Proper electrical safety practices are vital to protect yourself and ensure reliable operation of your table saw․
Assembly and Installation
Assembly involves unpacking, inventorying parts, and following step-by-step instructions for leg stand assembly and mounting the saw․ Ensure proper alignment and stability for safe operation․
3․1 Unpacking and Inventory
Begin by carefully unpacking the table saw and its components from the shipping box; Inspect all parts for damage or defects․ The package includes the table saw base, leg stand, hardware bags, miter fence, and accessories․ Refer to the parts list in the manual to ensure all items are accounted for․ Organize the components to avoid losing any hardware․ Tools like wrenches and hex keys, though necessary, may not be included and should be gathered beforehand․ Cross-checking the inventory with the manual ensures a smooth assembly process․ Proper organization prevents delays and ensures all parts are ready for assembly․
3․2 Leg Stand Assembly
Assemble the leg stand in the area where the saw will be used to avoid moving heavy components․ Attach the legs to the table saw base using the provided bolts and hex keys․ Ensure the bench surface has an opening for sawdust and is at least 36 inches high for comfortable operation․ Securely tighten all connections to maintain stability․ Use leveling feet to ensure the stand is even and stable․ Double-check all hardware for proper torque to prevent wobbling․ A sturdy, level stand is crucial for accurate cuts and safe operation․
3․3 Mounting the Saw on the Stand
Place the table saw base onto the pre-assembled leg stand, ensuring alignment with the mounting holes․ Secure the saw using the provided 1/4-20 x 3/4 in․ hex head bolts and tighten evenly․ Check that the saw is level and stable by adjusting the leveling feet․ Tighten all hardware firmly to prevent movement․ Ensure the saw’s power cord is properly routed to avoid interference․ Double-check all connections for stability and safety before proceeding․ Proper mounting ensures accurate cuts and prevents vibration during operation․
3․4 Installing the Miter Fence and Table
Attach the miter fence holder to the table using the provided screws, ensuring proper alignment with the miter scale․ Secure the miter fence to the holder using the adjusting clamp․ Next, attach the miter table to the saw base by aligning the mounting holes and tightening the screws․ Adjust the miter table to ensure it is flush with the saw table․ Finally, check the miter scale for accuracy and calibrate if necessary․ Lock all components firmly in place to ensure precise cuts and stable operation․
Operating the Table Saw

Ensure the blade is securely installed and aligned․ Position the workpiece firmly, using the rip fence for straight cuts․ Engage the safety features and operate smoothly․
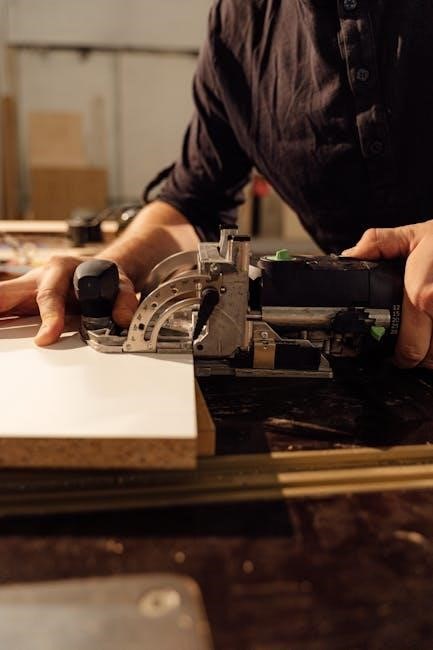
4․1 Blade Installation and Alignment
Begin by removing the throat plate to access the blade․ Use the provided wrenches to loosen the arbor nut and install the blade, ensuring it is securely fastened․ Align the blade with the riving knife for optimal performance and safety․ Check the blade’s alignment with the miter fence to ensure accuracy․ Tighten all components firmly and verify proper blade rotation before use․ Always unplug the saw during blade installation to prevent accidental start-up․ Proper alignment ensures precise cuts and minimizes the risk of kickback, promoting safe and efficient operation․
4․2 Adjusting the Rip Fence
To adjust the rip fence, loosen the locking mechanism by turning the handle counterclockwise․ Position the fence to the desired measurement, ensuring it aligns with the scale on the front rail․ Tighten the locking mechanism firmly to secure the fence in place․ Always check that the fence is parallel to the blade for accurate cuts․ Proper alignment ensures consistent results and prevents binding or kickback․ Use the provided wrenches to fine-tune the fence’s position if necessary․ Ensure the fence is locked securely before making any cuts for safe and precise operation․
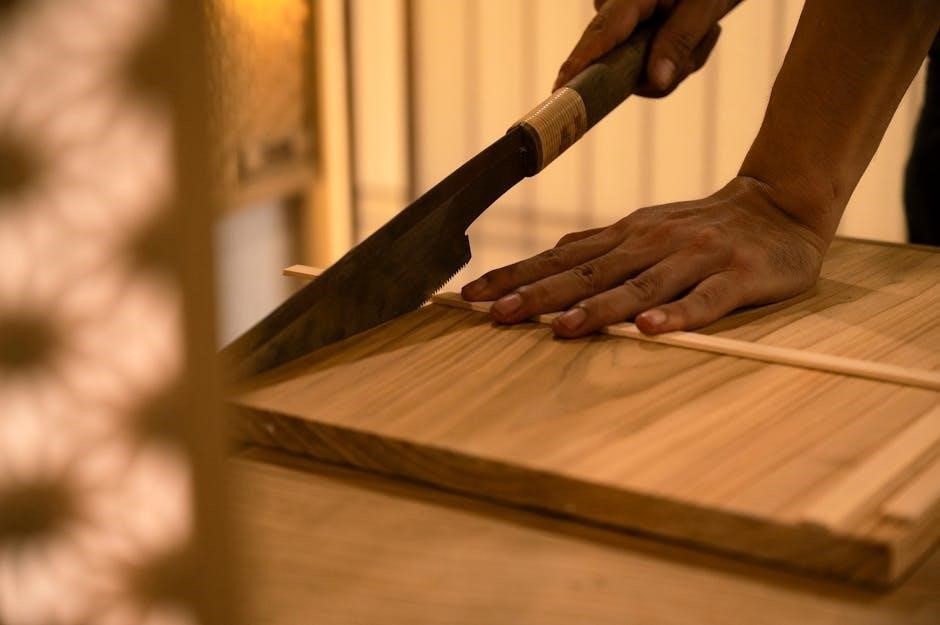
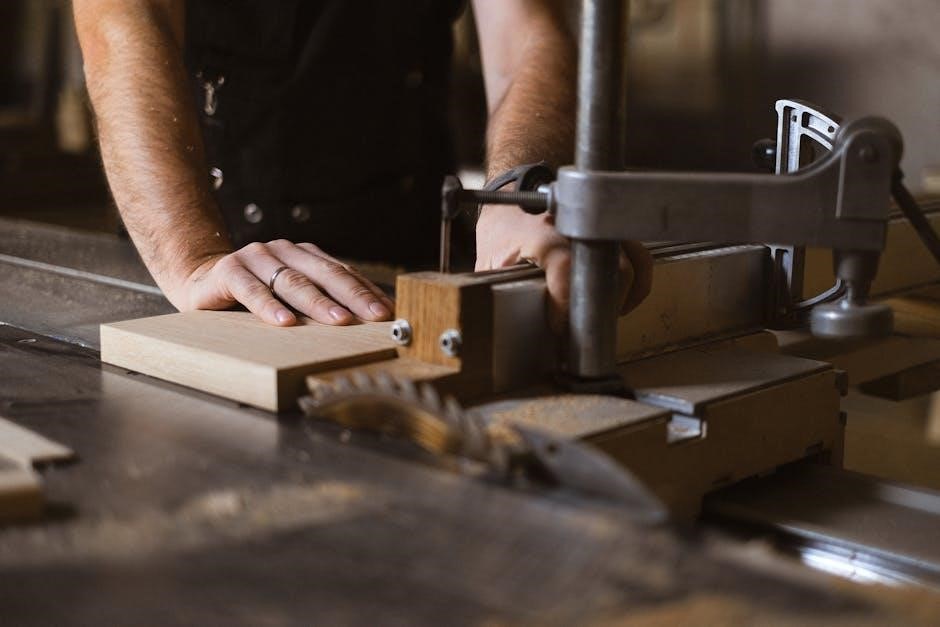
4․3 Making Straight and Bevel Cuts
For straight cuts, align the workpiece with the rip fence, ensuring it is parallel to the blade․ Lock the fence firmly and use a push stick for added safety․ To make bevel cuts, adjust the blade angle by moving the bevel locking lever to the desired position․ Use the blade angle adjustment handle to set the angle accurately․ Always ensure the workpiece is securely supported and keep hands away from the blade during operation․ Proper alignment and support are key to achieving clean, precise cuts with your Craftsman table saw․
4․4 Using the Miter Fence
The miter fence is essential for making precise angled cuts․ Align the workpiece with the miter indicator to achieve accurate angles․ Lock the fence securely using the adjusting clamp to prevent movement during cutting․ For optimal results, ensure the fence is parallel to the blade․ Use the miter fence in combination with the rip fence for complex cuts․ Always maintain proper control of the workpiece and consider using featherboards for added stability․ This feature enhances versatility, allowing you to create professional-grade miter and crosscuts efficiently․
Maintenance and Troubleshooting
Regularly clean and lubricate moving parts to ensure smooth operation․ Check blade alignment and tighten loose components․ Address vibrations by balancing the saw or adjusting the stand․ Refer to the manual for troubleshooting common issues like blade wobbling or uneven cuts, ensuring optimal performance and longevity of your table saw․
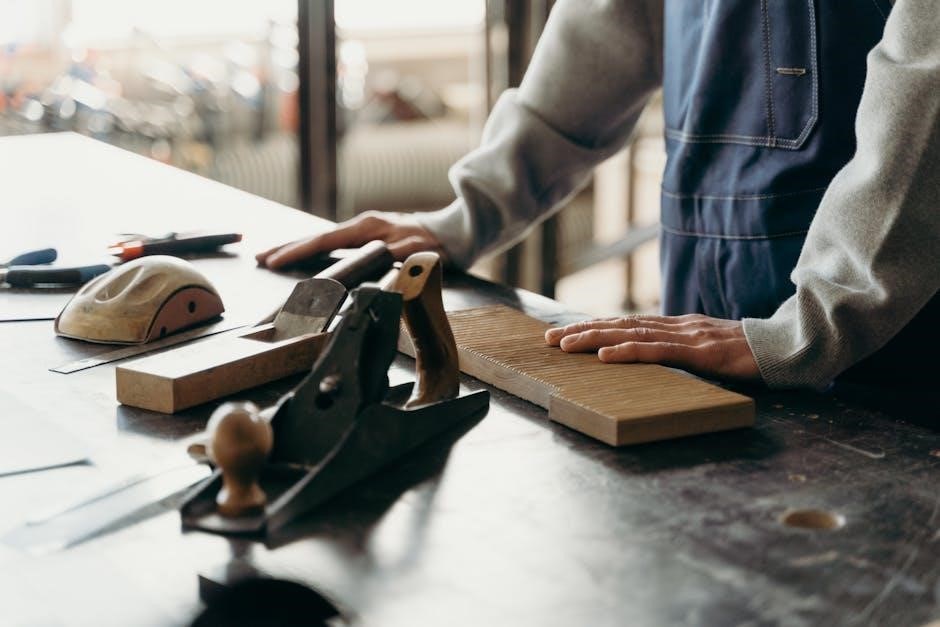
5․1 Cleaning and Lubricating Parts
Regular cleaning and lubrication are crucial for maintaining your table saw’s performance․ After each use, wipe the blade, table, and blade guard with a soft cloth to remove sawdust and debris․ Lubricate moving parts like the rip fence and miter fence with silicone spray to ensure smooth operation․ Check and clean the throat plate and traction belt periodically․ Avoid using excessive oil, as it may attract dust․ Proper maintenance prevents rust and ensures precise cuts and longevity of your table saw․
5․2 Blade Removal and Replacement
To remove or replace the blade, first ensure the saw is unplugged to avoid accidents․ Use the provided wrenches to loosen the blade nut and remove the throat plate․ Carefully lift the old blade and set it aside․ Install the new blade, ensuring it is properly aligned with the riving knife․ Tighten the blade nut securely․ Replace the throat plate and test the blade for balance and alignment․ Always refer to the manual for specific torque and safety guidelines during this process to ensure optimal performance and safety․
5․3 Common Issues and Solutions
Common issues with the Craftsman table saw include vibration, inaccurate cuts, and motor overheating․ For vibration, check if the blade is balanced or if the saw is properly leveled․ Inaccurate cuts may result from a misaligned rip fence or a dull blade․ To fix, adjust the fence alignment and replace the blade if necessary․ Motor overheating can occur due to dust buildup or overload․ Clean the saw regularly and avoid overloading the motor․ Refer to the manual for troubleshooting specific issues and ensuring optimal performance․

Accessories and Optional Equipment
Accessories like featherboards, push sticks, and dust collection systems enhance safety and efficiency․ Optional equipment includes recommended blades and miter fence upgrades for improved performance and versatility․
6․1 Recommended Blades
For optimal performance, use high-quality blades designed for your Craftsman table saw․ A 40-tooth, 10-inch carbide-tipped combination blade is ideal for both ripping and crosscutting․ This blade ensures clean cuts and durability․ Additionally, rip blades and crosscut blades are available for specialized tasks․ Always install blades correctly, following the manual’s instructions for proper alignment and tightening․ Consult the manual for blade compatibility and maintenance tips to maximize efficiency and safety․ Using the right blade enhances accuracy and prevents damage to your saw and workpieces․
6․2 Featherboards and Push Sticks
Featherboards and push sticks are essential accessories for enhancing safety and control when operating your Craftsman table saw․ Featherboards help maintain workpiece stability, preventing kickback by keeping the material firmly against the fence․ Push sticks provide better control when feeding small or narrow workpieces through the blade․ Both tools reduce the risk of accidents and improve cutting accuracy․ They can be purchased or homemade using 3/4-inch-thick lumber, ensuring a custom fit for your saw setup․ Always use these accessories to maintain proper control and safety during operations․
6․3 Dust Collection Systems
Dust collection systems are optional but highly recommended accessories for your Craftsman table saw․ They help maintain a clean workspace by capturing sawdust and debris, improving visibility and reducing cleanup time․ These systems can be installed directly on the saw or connected to a vacuum, ensuring efficient dust extraction․ Some models feature HEPA filters to trap fine particles, enhancing air quality․ Proper installation and regular maintenance of these systems are crucial for optimal performance․ Using a dust collection system not only improves safety but also enhances the overall efficiency of your woodworking projects․